Animate
When you select the Animate tab, a timeline window will show up at the bottom of your screen. Animation is performed by creating keyframes and interpolating between them.
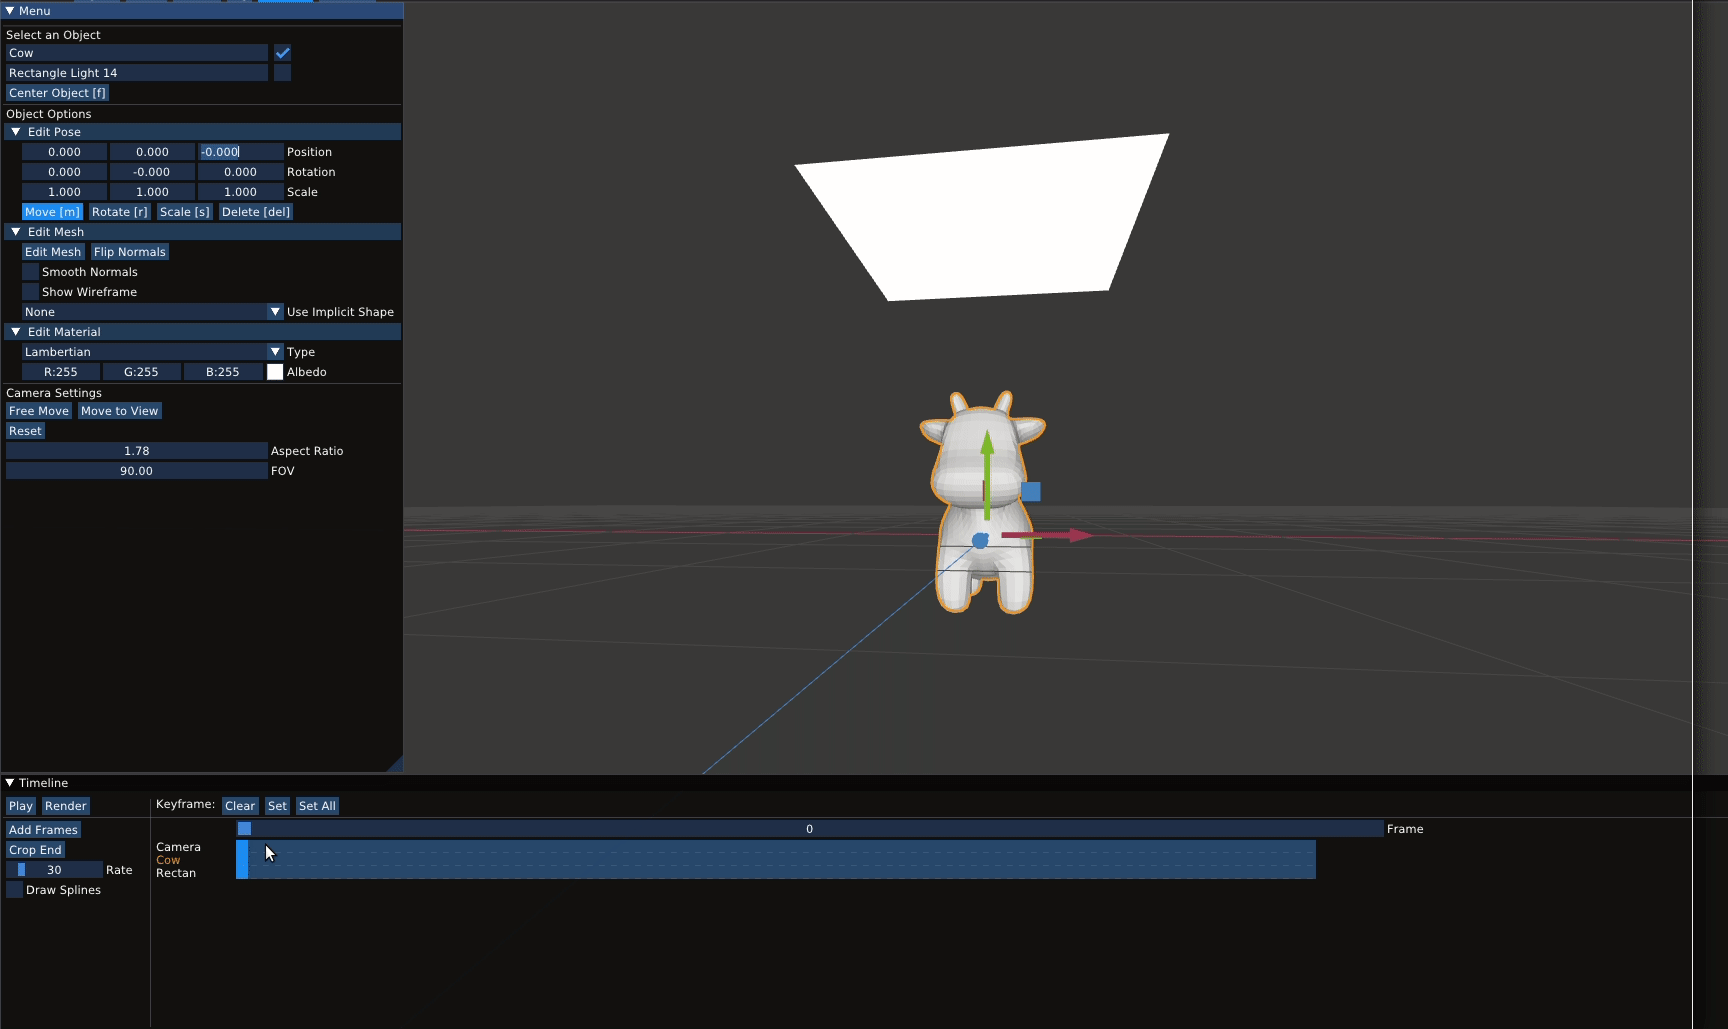
Keyframes
A keyframe associates an object’s pose with a specific frame in the timeline. Keyframes can be associated with all the objects (including the camera and rig joints associated with an object) in the scene.
To create a keyframe for an object:
- Select a frame location along that objects timeline by clicking on the timeline. Remember to do this before editing the pose.
- Change the pose of the selected object and press
Set. To associate keyframes with all the objects, useSet All. Note that for rig joints, only joint rotation can be performed. - Click on a keyframe in the timeline, and press
Clearto remove it.
To see your animation, press Play [space] . Once you’ve implemented spline interpolation, intermediate frames are generated by interpolating object poses between keyframes.
Check Draw Splines to visualize the spline along which objects are animated.

Add Frames inserts 90 empty frames into the timeline. Crop End deletes frames from the selected location to the end of the timeline.
Posing
Once you have rigged an object with a skeleton, it can now be posed by selecting a joint and changing its pose i.e., rotating the joint. This is called Forward Kinematics.
Joint poses can also be indirectly changed by using the IK (Inverse Kinematics) handles to provide target positions.
Note that IK handles need to be explicitly enabled using the checkbox.
Once you’ve implemented forward kinematics, inverse kinematics and skinning, as you change the pose, the mesh will deform. Different poses can be set as keyframes to animate the object.